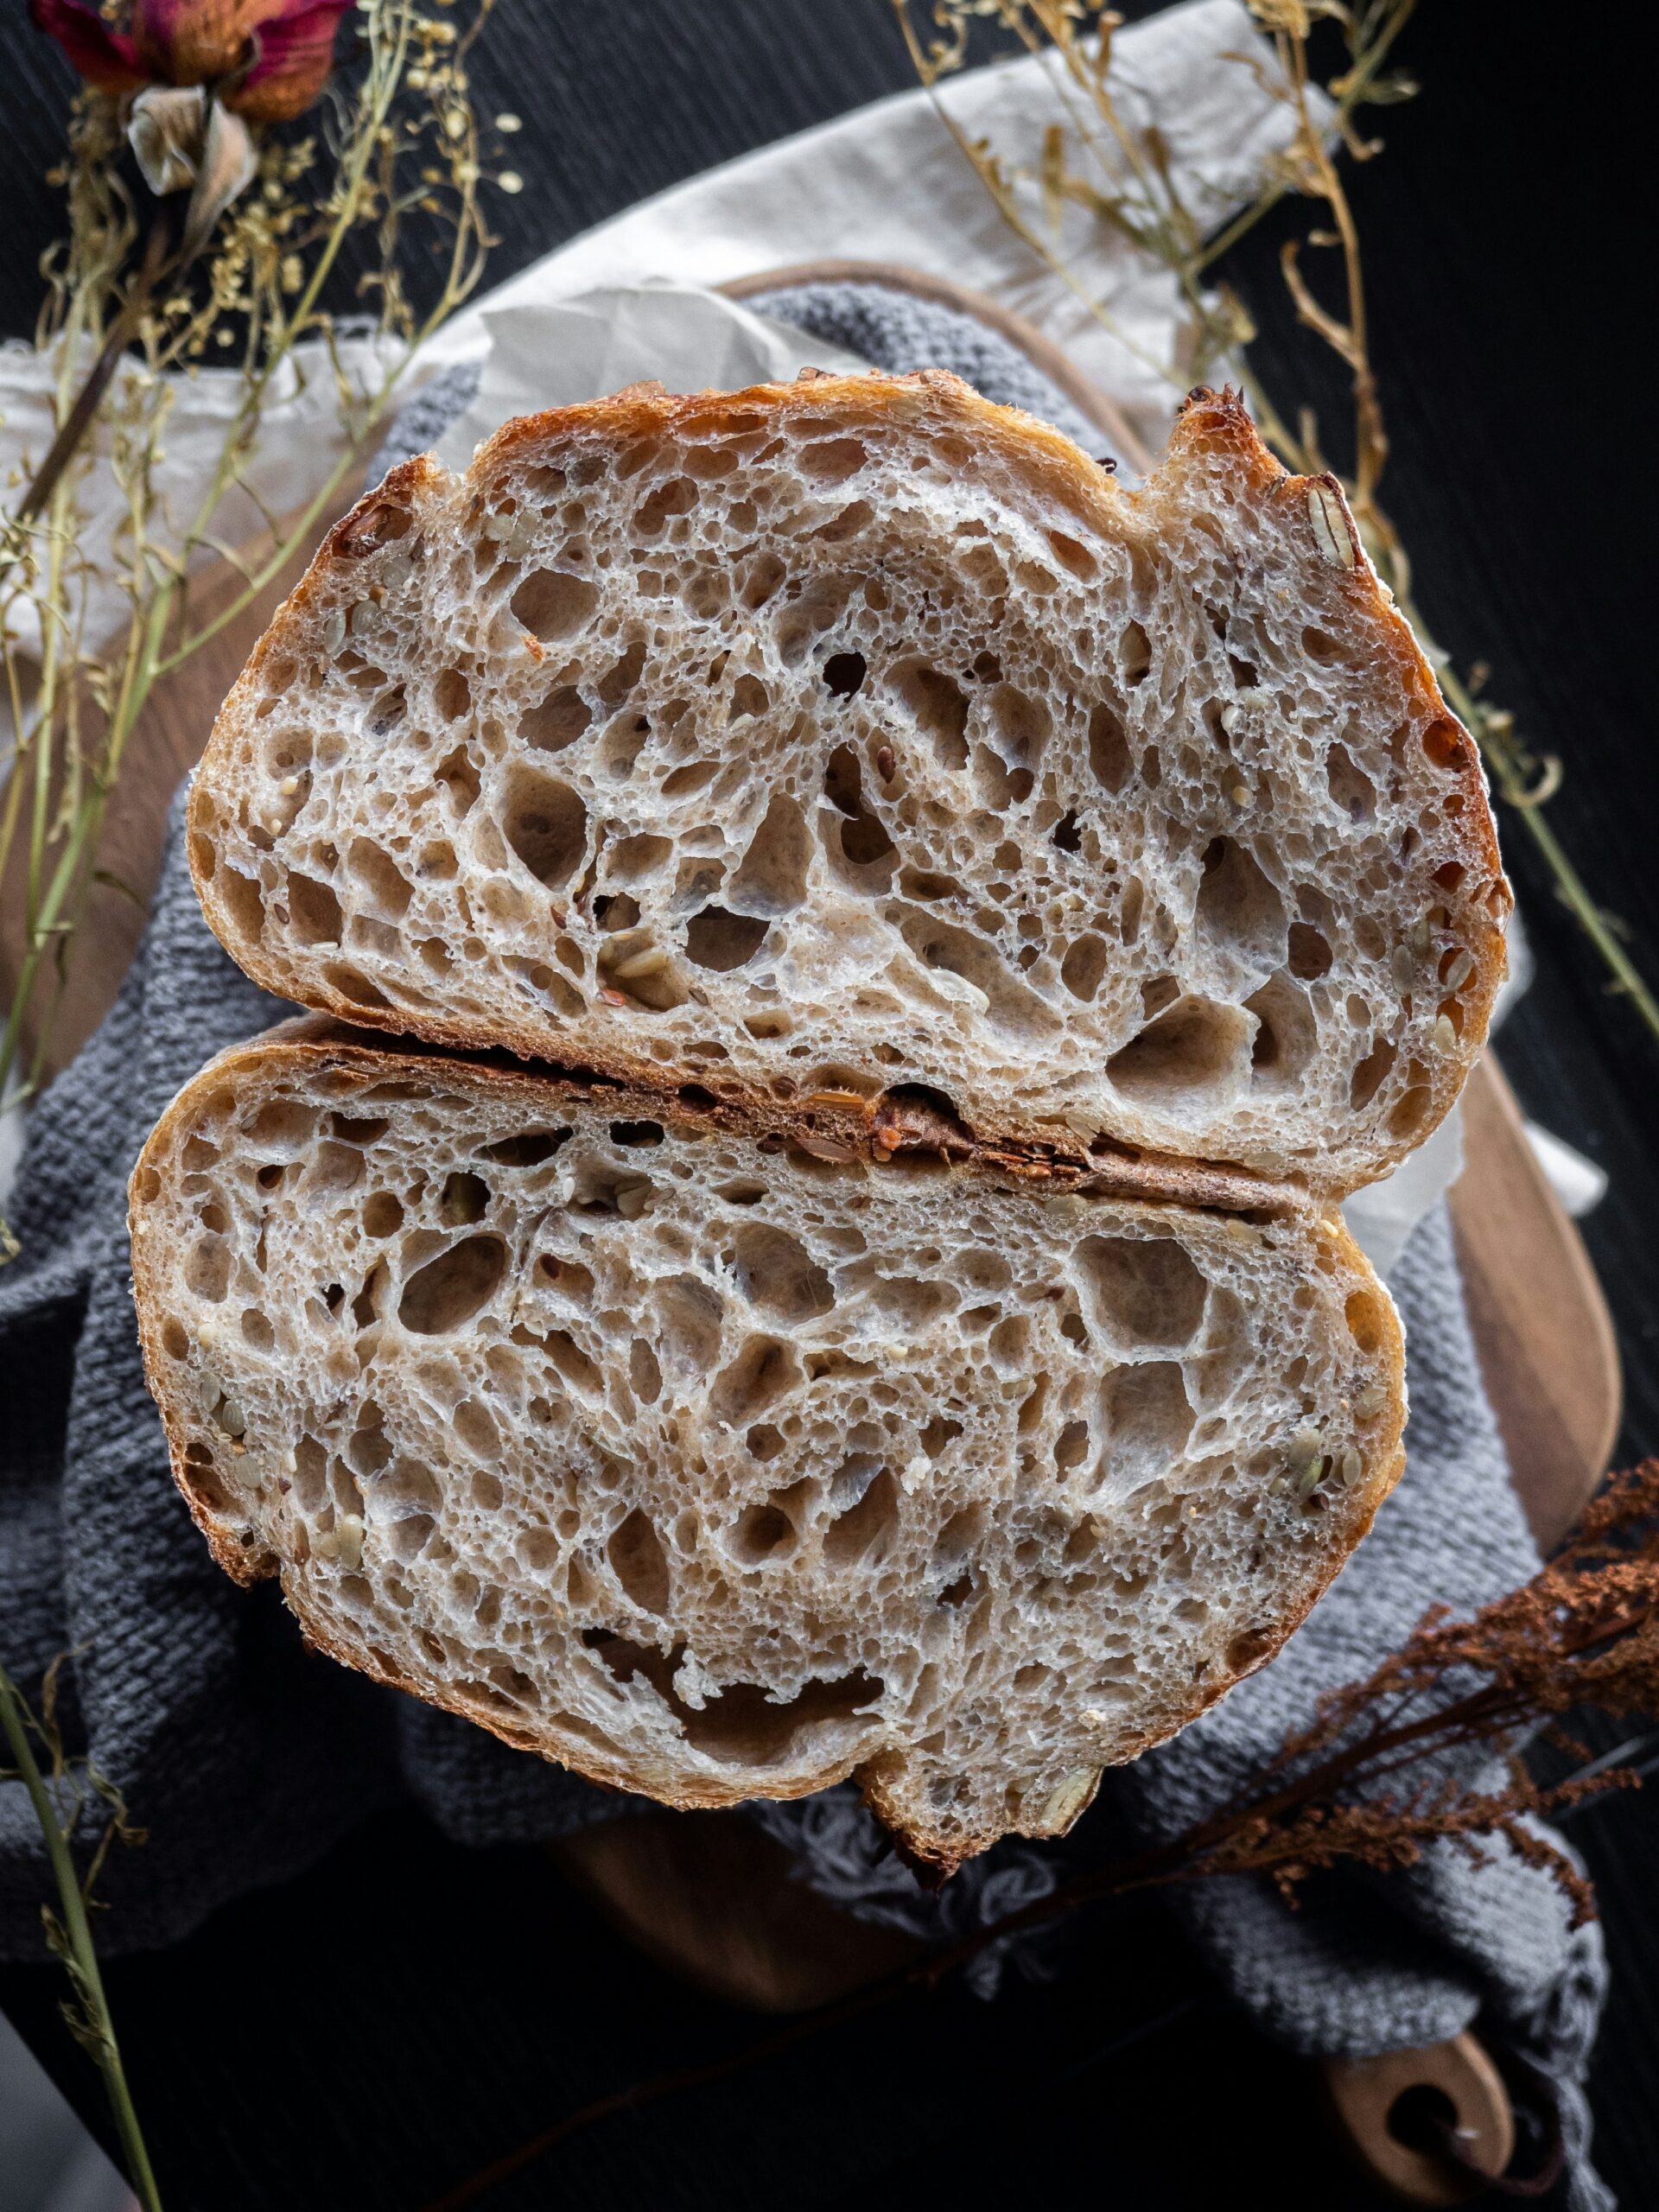
How to Start Your Own Sourdough Starter: A Step-by-Step Guide for Total Beginners
If you're anything like me, you love the idea of making wholesome, homemade foods for your family. One of the most rewarding (and delicious) projects you can embark on is making your own sourdough starter. Sourdough not only tastes amazing but it's also packed with gut-friendly probiotics that make it easier to digest. Plus, it’s a fantastic way to reduce food waste and become a little more self-sufficient.
Today, I’m going to walk you through the process of creating your very own sourdough starter from scratch. Whether you’re new to baking or a seasoned pro, this guide is for you. Let’s dive in!
This post contains affiliate links, including Amazon. As an Amazon Associate, I earn from qualifying purchases. Thank you for supporting Simply Rustic Living!
What is a Sourdough Starter?
A sourdough starter is a live culture of flour and water that naturally ferments over time, capturing wild yeast and bacteria from the environment. This mixture becomes the leavening agent (the “starter”) used to bake bread, resulting in that tangy, chewy goodness we all love.
Why Make Your Own Sourdough Starter?
- Health Benefits: Sourdough is easier to digest, has a lower glycemic index, and is rich in beneficial bacteria.
- Flavor: Nothing beats the unique taste of homemade sourdough bread.
- Sustainability: Making your own starter reduces the need for commercial yeast, which means fewer trips to the store and less packaging waste.
- No Preservatives: You know all the ingredients that go in, no sneaky little preservatives in your bread!
What You'll Need
- Flour: Start with whole wheat, unbleached bread flour, or rye flour, as they tend to ferment faster. You can switch to unbleached all-purpose flour later if you prefer. This is my favorite flour to use.
- Water: Use filtered or distilled water to avoid chlorine, which can inhibit fermentation.
- Glass Jar or Container: A wide-mouth glass jar works best for easy stirring and monitoring. Weck jars are great for this!
- Cloth and Rubber Band or Top of Mason Jar with No Band: To cover your jar and keep out dust while allowing airflow.
- Food Scale: To properly weigh/ measure ingredients. This one is cheap and works great.
- Wooden Spoon: Use a wooden spoon to stir the sourdough starter. Metal could potentially react to the acid and leech toxins into your starter. Don't want that!!
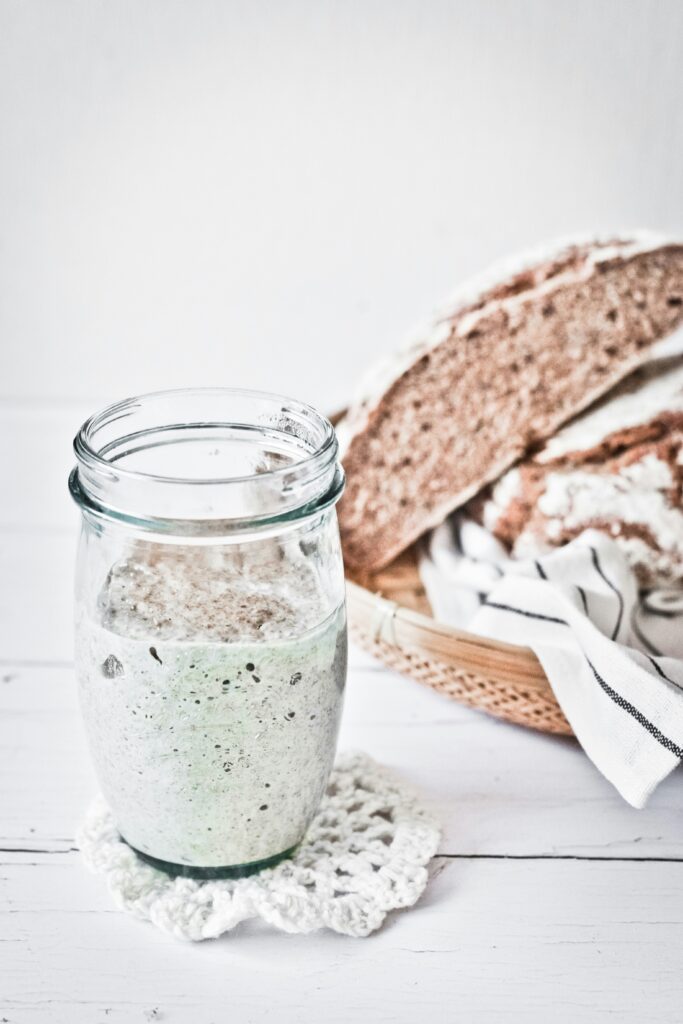
Step-by-Step Guide to Creating Your Sourdough Starter
Day 1: Mixing
- Combine Flour and Water: In your glass jar, mix 30 grams of flour and 30 grams of water. Stir until there are no dry bits of flour left.
- Cover Loosely: Cover the jar with a cloth and secure it with a rubber band. This allows the starter to breathe while keeping out unwanted debris.
- Let It Sit: Place the jar in a warm spot in your kitchen, away from direct sunlight. Let it sit for 24 hours.
Day 2: First Feeding
- Check Your Starter: You may notice bubbles on the surface, indicating that fermentation has started. Don’t worry if you don’t see much activity yet.
- Remove Half: Discard (don't save this discard yet. Once the starter is more mature then you can start saving it) half of your starter or 30 grams of the sourdough starter. This keeps the acidity balanced and prevents it from growing too large. To make this easier, I use a new jar. Put 30 grams of starter into a new jar then move on to the next step.
- Feed Again: Add 30 grams of flour and 30 grams of water to the remaining starter. Stir until smooth, cover, and let it rest for another 24 hours.
Days 3-7: Daily Feedings
- Repeat the Process: Each day, discard half of the starter and feed the remaining portion with 30 grams of flour and 30 grams of water.
- Watch for Growth: By day 3 or 4, you should see more bubbles, and the starter should start to rise and fall within a few hours of feeding.
- Smell Test: Your starter should have a pleasant, tangy smell. If it smells like alcohol, the environment could be too warm. Place in a cooler area or feed more (discard then feed twice a day.)
Day 7: Ready to Use
- Final Check: Your starter is ready when it doubles in size within 4-6 hours of feeding, has a bubbly surface, and a tangy smell. You can also do what is called a float test. Take your active starter and place in a cup of warm water. If the starter floats then she is ready to be used!
- Start Baking!: Now, you can use your starter to bake sourdough bread, pancakes, waffles, and more! Check out this recipe by Farmhouse on Boone for the best sourdough bread or this one for some sourdough discard pancakes!
Tips for Success
- Temperature Matters: A warm environment (around 68-75°F) is ideal for fermentation.
- Consistency is Key: Feed your starter at the same time each day to establish a routine.
- Patience Pays Off: It might take a full week or longer to get a strong starter, especially if your kitchen is on the cooler side.
Storing Your Starter
Once your starter is established, you can store it in the fridge and feed it once a week. When you’re ready to bake, take it out a day before and feed it as usual to reactivate it.
Using Your Sourdough Starter
Before using your sourdough starter in a recipe, make sure you have enough on hand so you don't use it all in one recipe. If the recipe calls for 100 grams of starter and you currently have 30 grams, I like to add 50 grams of flour and 50 grams of water (that equals to 100 grams of starter) and keep my extra 30 grams so I never run out.
Troubleshooting
- Too Sour: If your starter becomes overly sour, increase the frequency of feedings.
- No Bubbles: If you don’t see any bubbles after several days, try moving your jar to a warmer spot or switching to whole wheat flour. You can also do 1/2 bread flour and 1/2 whole wheat.
- Mold: If you see mold on your starter, it’s best to discard it and start over. Please do not try to keep it as it can be very dangerous to eat!!



1 comment